


- Profile
- Low, close to the fabric
- Surface
- Satin and fill, with fine detail possible
- Edges
- Standard satin edges and outlines
- Best for
- Detailed logos, small text, most placements
3D Puff Digitizing Service
Flat artwork. Raised embroidery.
3D puff needs more than extra density. The file has to control foam, satin coverage, edges and sequencing so the design finishes clean and raised.
- Foam-ready stitch planning
- Cap-focused setup
- Major machine formats
How puff is made
Puff doesn't come
from extra stitches.
Puff only looks good when the file is built for the foam underneath it. We digitize column widths, density and end closures specifically for the foam thickness you run.
3D puff is created by stitching satin columns over a layer of embroidery foam. The height comes from the foam; the stitches have to wrap it, cut it at the edges and close it at the ends.
Putting foam under a standard design rarely works. The columns are too narrow to hold the foam up, the density is too low to perforate it, and the open ends of each letter leave foam poking out after you tear it away.
Puff has to be planned from the artwork stage. Some shapes simply will not rise well, and those need to be adjusted or sewn flat before the file is built.
Wrong approach
- Excessive densityMore stitches added in place of a puff plan
- Exposed foamFoam showing through the sides or ends of letters
- Weak cornersRagged edges where the foam did not tear away cleanly
- Open endsColumn ends left open over the foam
- Collapsed heightColumns that sink flat instead of standing up
Puff-specific file
- Foam-aware satinColumns sized and angled to wrap the foam
- Closed edgesEnds capped so no foam is left showing
- Planned penetrationsTight edges that perforate the foam along the outline
- Controlled widthEvery column checked against the finished size
- Clean finishingLittle left to clean up after the foam is torn away
Anatomy of 3D puff
How a puff file is built differently.
Puff relies on the stitches themselves to cut and wrap the foam. Select a part of the raised letter to see what the file does there.
-
The foam creates the height. The stitch plan has to cover and cut it cleanly. Underlay that would normally support a satin is reduced or moved under the foam area only, because too much underlay on top of foam flattens the rise.
-
Puff relies on satin columns wide enough to hold the foam up, but not so wide that they sag and snag. We check every column against your finished size and foam, and adjust or split shapes that fall outside what will rise cleanly.
-
Edges need enough penetration to separate excess foam cleanly. Puff satins are sewn tighter than flat satins, and a tight running or cutting pass around the perimeter scores the foam so it separates along the outline instead of tearing unevenly.
-
Open ends can reveal foam unless the file closes the structure intentionally. We close the start and end of each column with short cap stitches placed across the column end, under the top satin.
-
Satin stitches cross the column so they wrap over the foam from edge to edge. The angle follows the shape, which affects how the letter holds its form, how fully the foam is covered and how the finished surface catches the light.
-
Outlines, fine text and fills sew flat before or after the foam goes down. The file includes a stop so the operator knows when to place the foam, and puff areas are usually ordered so later stitches do not crush the raised sections.
Design suitability
Not every logo should be puffed.
Puff rewards bold, simple shapes. Finer artwork can still work, often with some simplification or a mix of flat and raised elements.
Works well
- Bold lettering
- Thick shapes
- Strong monograms
- Simple geometric elements
May need simplification
- Tiny text
- Narrow strokes
- Dense fine detail
- Complicated overlapping elements
Why fine detail struggles: Puff is built mainly from satin columns that wrap the foam; plain fills do not wrap it the same way, so filled shapes need a different approach or are sewn flat. Small text and thin strokes are sewn flat alongside the raised elements.
Flat vs 3D puff
Same letter, two constructions.
Flat embroidery lies on the fabric. Puff stands over foam, so its columns, edges and ends are built differently.
- Profile
- Raised over a foam layer
- Surface
- Wide satin wrapping the foam
- Edges
- Perforated outlines and capped ends
- Best for
- Bold lettering and simple shapes, often on caps
Illustration Detailed or fine artwork is usually better flat, or as flat detail around raised lettering. Flat embroidery digitizing
Puff construction
What sits under a raised letter.
A puff column is a small stack. Each layer has a job, and the file is written for all of them.
- 01Top satin stitchesWrap the foam edge to edge and close the ends.
- 02FoamCreates the height; perforated along the outline so the excess tears away.
- 03Base fabricThe cap front or garment the design sews onto.
- 04StabilizerBacking that keeps the fabric steady under dense stitching.
After sewing, excess foam is torn away and stray bits are typically shrunk back with a quick pass of a heat gun. A good file leaves very little to clean up.

Puff on caps
Puff + cap construction.
Cap fronts are one of the most common puff placements, so the cap and the foam are planned together.
- Cap structureA firm buckram front gives the foam a solid base; softer fronts need simpler, solid shapes.
- Center seamRaised columns crossing the seam are placed and stabilized with the ridge in mind.
- Placement and heightThe raised design is laid out inside the sewable area of your crown.
- RegistrationFlat outlines and puff elements are sequenced so they still meet after the foam goes down.
Before we digitize
Four things that shape a puff file.
- 01
Artwork
Send the design as it is. We review whether it suits raised embroidery and suggest changes to shapes that are too thin or too wide, or elements that should stay flat.
- 02
Placement
Puff is often sewn on a cap front or another firm, structured area. Puff also works on heavy jackets and hoodies with good backing, usually for bold lettering.
- 03
Finished size
The width and height decide whether each satin area is still wide enough to rise. Tell us the size you need and we check every column against it.
- 04
Foam and color
If you already know the foam thickness and color you run, tell us and we build for it. If not, send the artwork anyway and we will review it.
Service snapshot
3D Puff Digitizing at a glance
- Best for
- Bold logos, lettering and monograms
- Common placement
- Cap fronts; bold lettering on heavy jackets
- Technique
- Foam-supported raised satin
- Common formats
- DST, EXP, PES or another format: one included; extras or EMB on request, confirmed with your quote
- Artwork
- Vector preferred; high-quality raster accepted for review
- Column ends
- Capped / closed to cover foam
- Machine stop
- Included before the puff layer
- Turnaround
- Confirmed with your quote
Formats you can request
Machine formats
- DSTTajima
- PESBrother / Baby Lock
- JEFJanome
- EXPMelco / Bernina
- VP3Husqvarna / Pfaff
- XXXSinger
- HUSHusqvarna
- EMBEditable working file (ask first)
A standard order includes one machine format of your choice. Additional formats, and the editable EMB working file, are not automatic: we confirm availability and any charge with your quote.
Not sure which format? Puff files carry a stop command for foam placement. Tell us your machine and format so the stop lands where your operator expects. We'll recommend the correct file for your machine.
Converting a file you already haveHow orders run
How puff orders run.
-
01
Upload
Upload artwork
Share the design, garment, size and, if you know it, the foam thickness you plan to use.
-
02
Review
We check puff suitability
We mark which elements will rise and which should sew flat, and suggest changes to shapes that are too thin or too wide.
-
03
Digitize
Foam-ready stitch plan is built
Flat elements, foam stop, closure pass and dense capped satins are sequenced in one file.
-
04
Sew
Receive and sew
You get the machine file and a color and stitch sheet, with the foam stop and the colors that sew over foam marked.
Related samples
See the height up close.
-
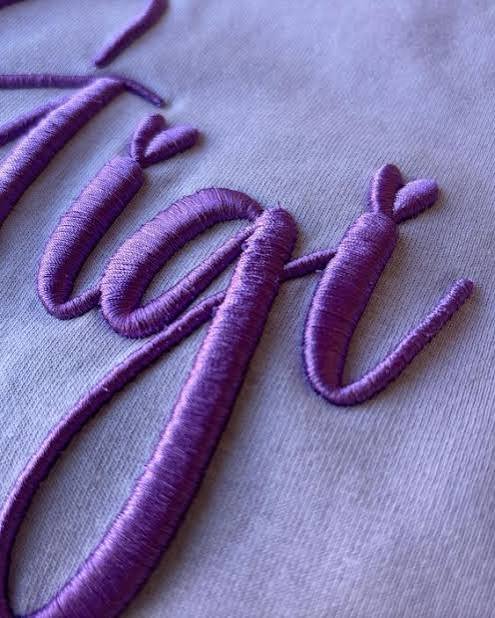
3D Puff
Purple script lettering
- Placement
- 3D puff
Have a design like this? Send it with the size and placement for a free quote.
Get Free Quote -
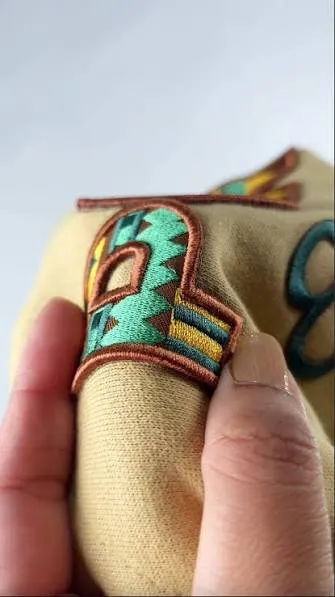
3D Puff
Raised patterned letter
- Placement
- 3D puff
Have a design like this? Send it with the size and placement for a free quote.
Get Free Quote -
3D Puff
Anyrope script on a white cap
- Placement
- 3D puff
Have a design like this? Send it with the size and placement for a free quote.
Get Free Quote
Got a puff design?
Send the artwork.
We'll check if it's ready to rise.
Not sure whether your logo is suitable for puff? Send it anyway.
Questions
3D puff questions.
What people ask before sending raised work. Anything else, ask with your quote.
All questions01What is 3D puff embroidery?
Raised embroidery made by stitching satin columns over a layer of embroidery foam. The stitches wrap and perforate the foam, the excess is torn away, and the design is left standing above the fabric.
02How is 3D puff digitizing different from regular embroidery digitizing?
The raised elements are built for foam: wider satin columns, tighter density along the edges, capped ends, a closure pass and a machine stop for placing the foam. You cannot get puff by changing settings on a flat file, so the raised elements are re-digitized. Flat parts of the design can often stay as they are.
03Can every logo be converted to 3D puff?
Not always as it is. Fill stitches run in rows across a shape and do not wrap over the edge of the foam, so the foam is pressed flat and shows at the sides. Large solid shapes may need to be redrawn as outlined letters, simplified, or left flat. We tell you what we would change before building the file. Our 3D puff guide sets out when puff or flat embroidery is the better choice.
04What types of designs work best?
Bold lettering, thick shapes, strong monograms and simple geometric elements. Designs built from satin-width strokes rise most cleanly.
05Can small lettering be puffed?
It depends less on the letter height than on the stroke width. Each raised stroke has to be a satin column wide enough to wrap the foam. Machine and software makers commonly cite about 3 mm as a minimum and roughly 10 to 12 mm as a maximum, while some recommend staying nearer 7 mm; the right width depends on the foam, thread and machine. Thin strokes, small serifs and tight gaps will not hold the foam, so small text is usually sewn flat alongside the raised elements. We check this during review.
06Is 3D puff only for caps?
No, but structured caps are where it is most common, because the firm front gives the foam a solid base. It also works on heavy jackets and hoodies with good backing, usually for bold lettering. See cap digitizing for how cap fronts are handled.
07What artwork should I send?
A vector file (AI, EPS or PDF) is ideal; a high-quality PNG or JPG is fine for review. Include the finished size, the placement and the foam thickness if you know it.
08Can you combine flat embroidery and 3D puff in the same design?
Yes, that is common. Flat elements sew first; the file then stops so the operator can place the foam, and the puff elements sew last. Each raised shape has its column ends capped so the foam is cut and covered, then the excess foam is torn away and any small remnants are shrunk back with gentle heat from a heat gun.
09Which machine formats can you provide?
You can request DST, EXP, PES or other formats, and the format is confirmed in the quote. Tell us your machine so the foam stop lands where your operator expects.
010Can you fix a puff file with exposed foam or weak edges?
Usually the column ends were left open or density was too low to perforate the foam. Send the file with a photo of the sew-out; capped ends and a closure pass fix most of it, and a light pass with a heat gun shrinks any remaining specks. We tell you whether we would correct or rebuild the file before any work starts.
011How is 3D puff digitizing priced?
Each design is quoted before any work starts. The quote depends on how much of the design is raised, whether lettering or shapes need to be rebuilt as puff-ready satin columns, any flat elements around them, and the number of placements. If you have an existing flat file, a puff version is still digitized as its own file. See pricing and policies.
Related services
Built for a specific job.
-
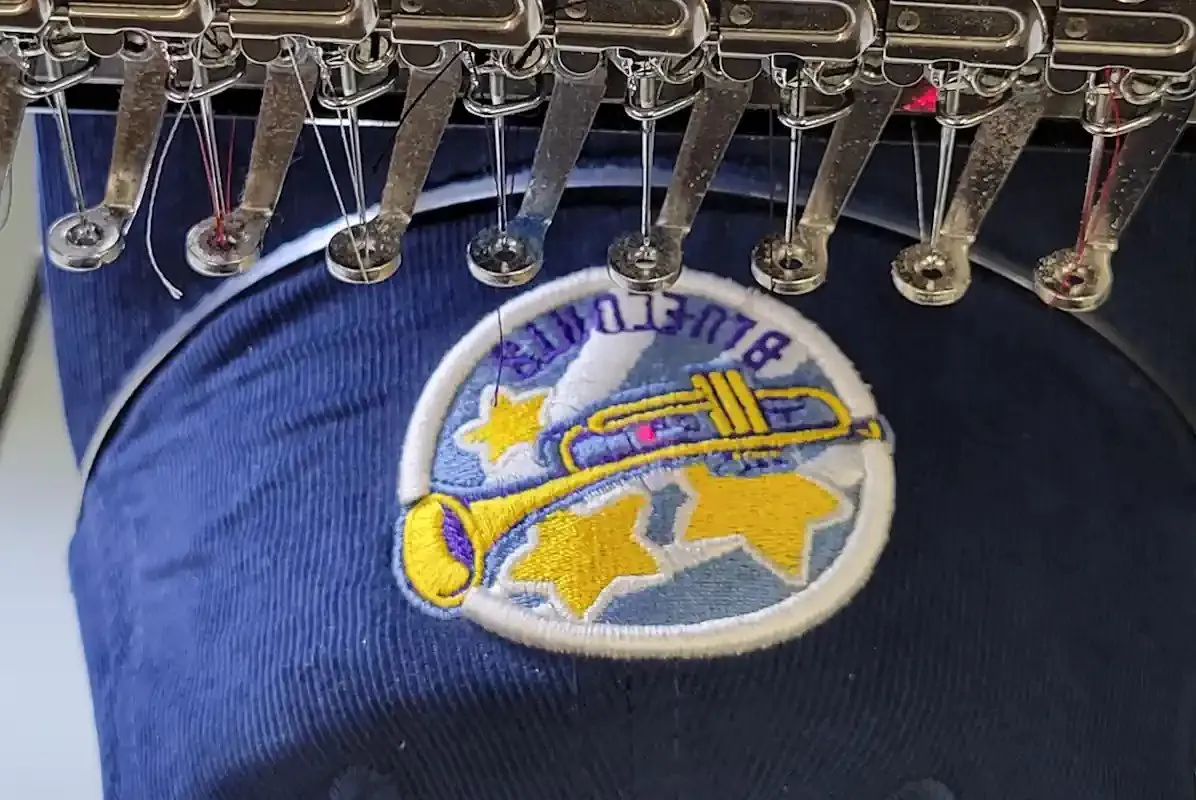 Cap & Hat Digitizing
Center-out sequencing and curved-surface compensation built specifically for headwear.
- Illustration Logo Digitizing Brand marks simplified for thread and built as size-specific versions that sew the same every time.
-
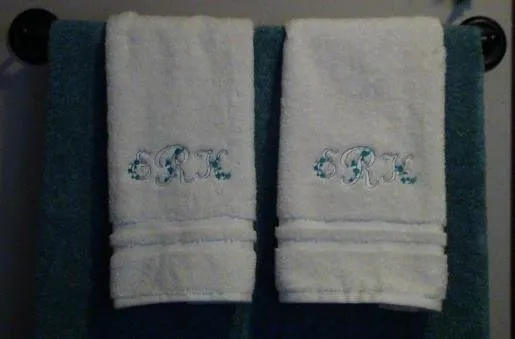 Small Lettering
Readable tiny text through adjusted density, light underlay and stitch types chosen per letter size.
-
 Patch Digitizing
Border, base and density planned for merrow, heat-cut or full-stitch patch production.
Free quote · No payment to ask
Built to rise.
Ready to run.
Upload the design, tell us where it needs to sew, and we'll take it from there.