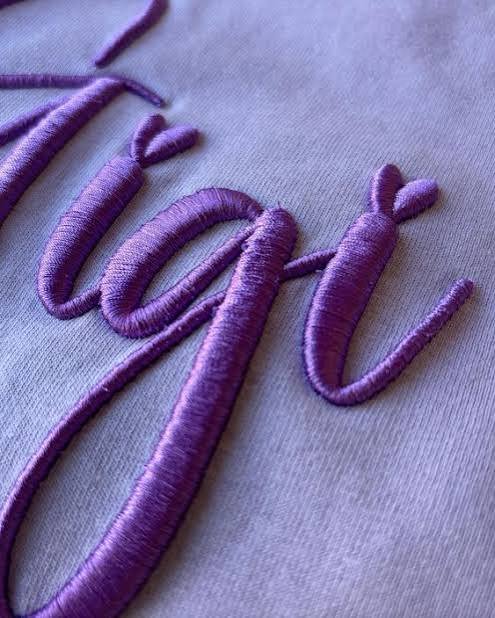
Limited sewing height
Crown profile sets the usable area. A design laid out for a high-profile cap can run into the brim or the button on a low-profile style.
Ready when you are. Send your artwork today — we'll take care of the stitches.
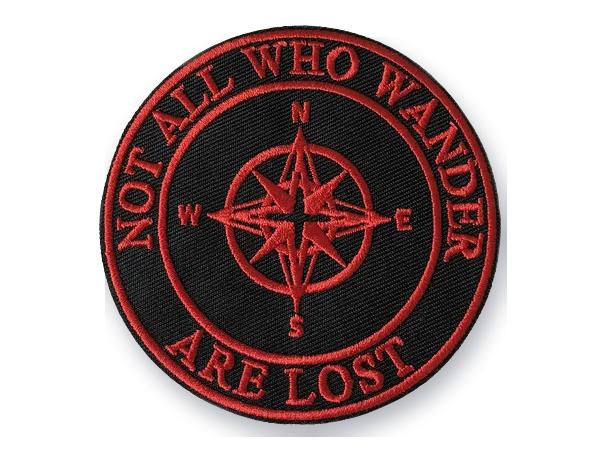 Embroidered patchesRaised, textured thread
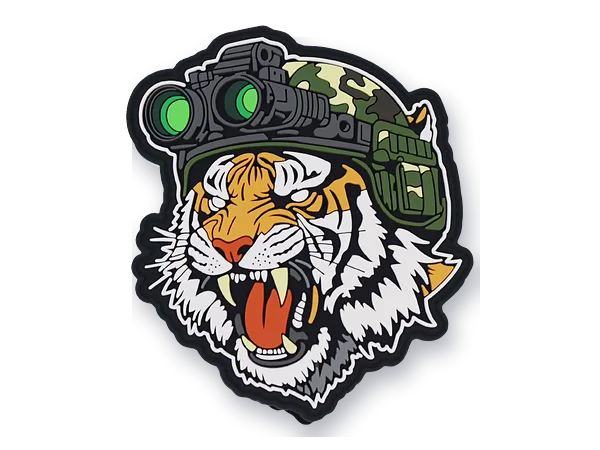 PVC patchesSmooth, flexible and dimensional
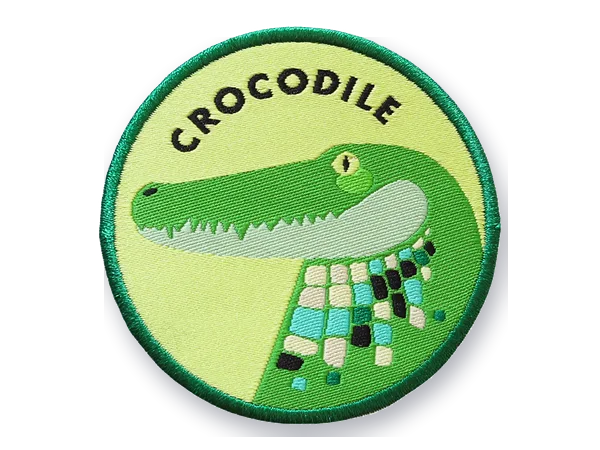 Woven patchesFlat, smooth and thin
 Chenille patchesSoft, fuzzy and raised
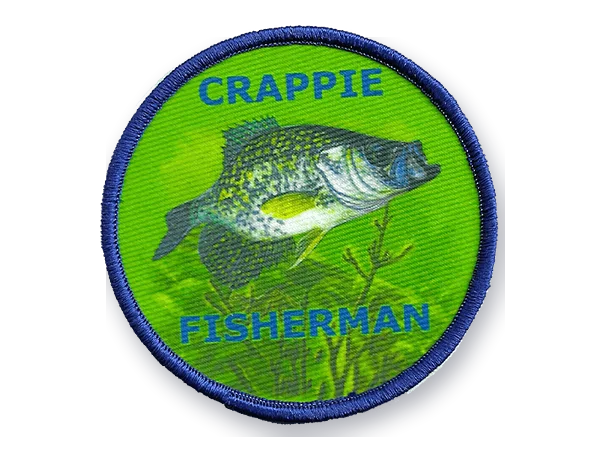 Printed / sublimated patchesFlat and smooth, full color
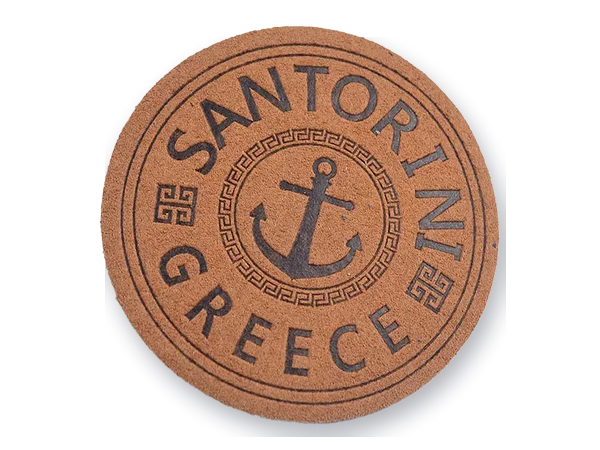 Leather patchesNatural, premium leather look
Digitizing for Caps & Headwear
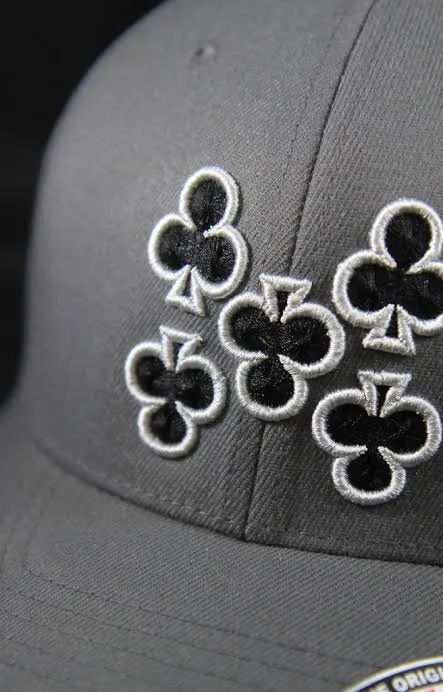
A structured six-panel, a knit cuff and a bucket hat brim behave nothing alike under the needle. We digitize headwear for the exact style and placement you are producing.
Who this is for
This page is for headwear brands, hat shops and decorators who sew mostly or entirely on caps and hats. You may run a full line with front logos, side hits and back text on several styles, or produce custom headwear for clients across sports, retail and events. Your files need to sew cleanly on a cap frame, a tubular hoop and occasionally a flat hoop for unconstructed styles.
What gets in the way
Crown profile sets the usable area. A design laid out for a high-profile cap can run into the brim or the button on a low-profile style.
Beanies stretch in the hoop and relax afterward, which distorts satins and closes small gaps. Knit needs a different underlay strategy than twill.
Foam fronts are easily cut by dense stitching, and mesh backs offer almost nothing to anchor stitches into.
Front, sides and back are sewn in different positions, sometimes with different hoops. Each needs its own file sized for that space.
Garments & products
How we work with you
Before digitizing, we confirm the hat style, crown profile and placement so the layout fits the sewable area. If 3D puff is planned, we build the satin columns wide enough for foam with open ends that cut cleanly.
Cap fronts are sequenced from the center outward and bottom to top to keep the fabric from shifting across the crown. Beanie and bucket hat files are built with their own underlay and density, not adapted from a cap file.
Center-out sequencing and curved-surface compensation built specifically for headwear.
Learn moreWide, dense satin columns with closed edges so foam cuts cleanly and stays covered.
Learn moreReadable tiny text through adjusted density, light underlay and stitch types chosen per letter size.
Learn moreBorder, base and density planned for merrow, heat-cut or full-stitch patch production.
Learn moreTwo caps that look alike can need different files. With each design, send:
How each of these changes the file is covered on our cap digitizing page and in why cap digitizing is different.
A headwear range usually needs a small family of files rather than one. A structured front, an unstructured dad hat, a beanie cuff and a side hit each get their own version, built from the same approved artwork so they read as one mark.
Blank makers and distributors publish decoration guidance, and it varies by style. OTTO Cap, for example, lists approximate maximum embroidery sizes for the front, back and side of its caps and a maximum number of thread colors, and notes styles where embroidery is not recommended. SanMar's decoration spec sheets state that the decoration area depends on the garment size, the decoration method and the equipment used. Size the artwork to the figures for the actual blank and machine before it is digitized, rather than to a general rule.
Launching or extending a headwear line? Upload the logo with the blank styles and placements for a review and quote. Upload headwear artwork
FAQ
Not well. A cap file is built for a curved, stable front, while knit needs heavier underlay and bolder detail. We recommend separate versions for each.
There is no single minimum. The font, thread weight, cap material and machine setup all decide how small cap-back text can sew cleanly, and finer thread with a smaller needle can hold smaller letters than standard thread. Unstructured and mesh backs are the least forgiving. We check the text at your finished size and suggest changes if it is likely to close up; see small lettering digitizing.
Yes, though foam-front truckers need care. We keep density in check so puff columns cover the foam without cutting into the front panel.
Yes. Many headwear brands sew patches separately and attach them afterward. We digitize the patch with a merrowed or satin border suited to the method you use.
Free quote · No payment to ask
Upload the design, tell us where it needs to sew, and we'll take it from there.