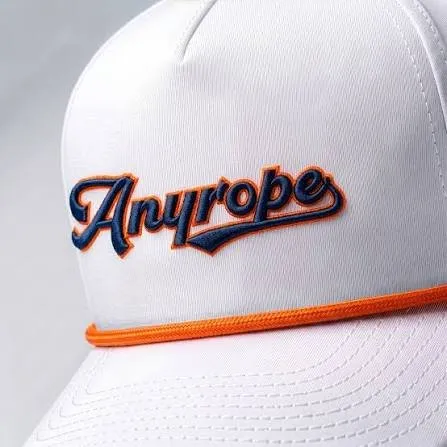
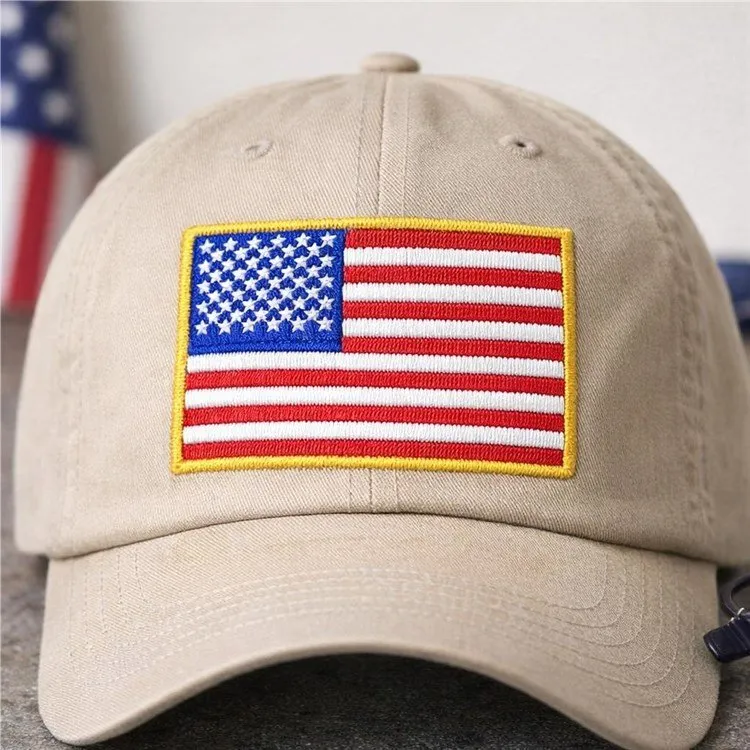
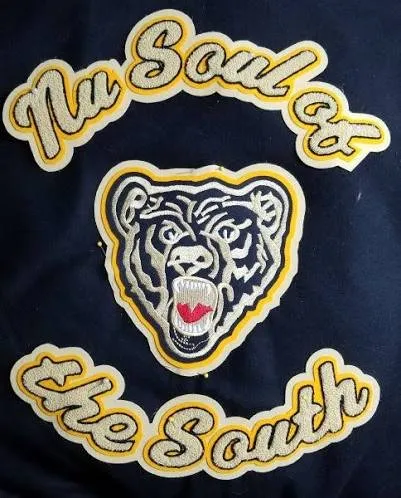
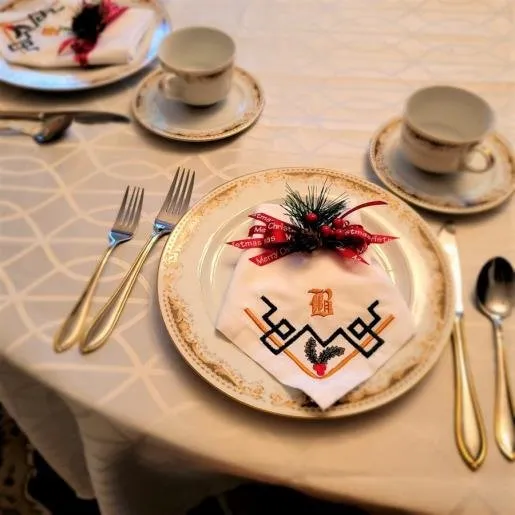
Ready when you are. Send your artwork today — we'll take care of the stitches.

Embroidery Digitizing Service

Artwork in. Stitch-ready files out.

A custom embroidery digitizing service for shops, brands and decorators: production-ready stitch files built around your artwork, placement, fabric and machine.

  • Free artwork review
  • Major machine formats
  • Revision support
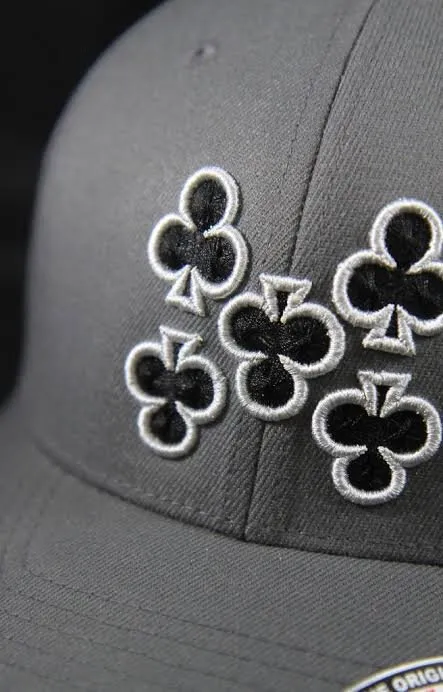
Club-suit embroidery sewn on a grey cap
03 Sew-out
Formats
  • DST
  • PES
  • JEF
  • EXP
  • VP3

Why the file matters

Your machine only sews
what the file tells it.

Digitizing is the step where a picture becomes a set of needle instructions. Each file is planned for the garment it will actually sew on: stitch type, direction, underlay and order.

An embroidery machine has no idea what your logo is supposed to look like. It follows coordinates: move here, drop the needle, cut the thread, change color. Every quality issue on the finished garment traces back to how those instructions were written.

Auto-digitizing software converts shapes into stitches without judging fabric, size or sewing order. The result often looks fine on screen and then puckers, gaps or snaps thread on the machine. Manual digitizing puts those decisions in the hands of someone who knows how fabric moves under a needle.

Bad file

  • Thread breaksBirdnesting under the plate and stops mid-run
  • Poor registrationGaps between colors and along outlines
  • Filled-in letteringSmall text sews as a solid lump
  • Excessive trimsLong run times from extra trims and color stops
  • Unnecessary densityPuckering and stiff, heavy fills

Good file

  • Clean sequenceBackground first, colors grouped, short travel
  • Balanced densityFull coverage that still flexes
  • Stable underlayA foundation matched to the fabric
  • Readable detailLettering and fine lines stay open
  • Efficient productionFewer trims, fewer stops, faster runs

The anatomy of a good file

What actually goes into a digitized file.

A finished file is a stack of small engineering decisions. These are the ones that matter most on the machine.

  1. Run stitches handle fine detail and outlines. Satin columns give a glossy edge for text and borders where the column width stays appropriate for the artwork, material and stitch structure. Wider areas switch to tatami fill or split satin so long floats do not snag.

  2. Underlay is the foundation sewn first. Center run, edge run, zigzag and tatami underlay each stabilize the fabric differently, and the right mix depends on stitch width and how much the fabric stretches.

  3. Density is the spacing between stitch rows, adjusted around the design, thread, fabric and intended application. Too dense and the design turns stiff and breaks needles; too open and fabric shows through. We adjust it per fabric and thread weight.

  4. Stitches pull fabric inward along their direction and push it out at the ends. We widen shapes slightly in the pull direction so circles stay round and columns keep their designed width after sewing.

  5. Objects are ordered so background sews before foreground, colors are grouped, and the needle travels the shortest sensible path. Good sequencing keeps registration tight and cuts color changes.

  6. Short travel moves are hidden under later stitches instead of trimmed. Longer moves get a trim with tie-in and tie-off lock stitches so nothing unravels. Fewer trims means faster, cleaner runs.

Manual vs auto-digitizing

Conversion is automatic.
Good digitizing isn't.

Software can generate stitches. Production-ready digitizing requires decisions.

Auto-digitized

  • Too many stitches
  • Bad sequencing
  • Poor small lettering
  • Generic density

Software traces the artwork and fills shapes with default settings. It cannot tell a cap from a towel, so density, underlay and sewing order are rarely right for the job. It is a starting point at best.

Manually digitized

  • Planned stitch direction
  • Fabric-aware underlay
  • Controlled density
  • Cleaner pathing

Every object is placed by hand with its own stitch type, angle and underlay. Sewing order is planned for registration and efficiency. This is how production files are built.

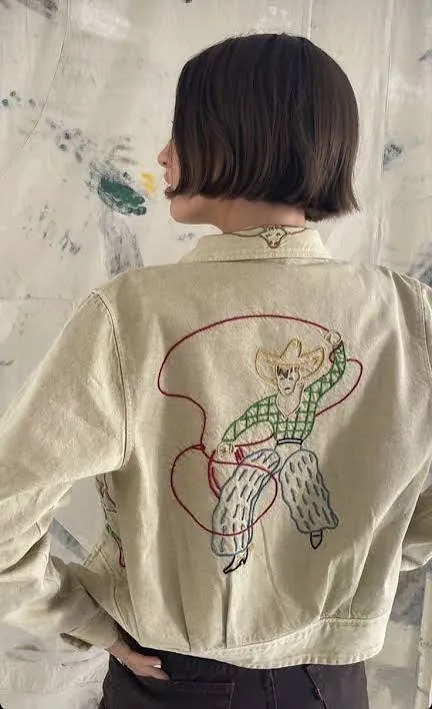
Large rope-and-cowboy embroidery sewn on the back of a denim jacket

Before we digitize

Three things that change every file.

  1. 01

    Fabric matters

    Stable wovens such as twill accept denser fills. Knits, fleece and performance fabrics need more underlay, lighter density and extra compensation. We ask about fabric before we start.

  2. 02

    Size matters

    A file is built for a size. A machine file such as DST stores finished stitches, so resizing it stretches or squeezes those stitches instead of rebuilding them. How far a design can move depends on its smallest details and stitch types; a noticeable size change should be rebuilt or rescaled from the editable working file, then test-sewn.

  3. 03

    Editable source

    A working file such as EMB keeps object data intact so the design can be edited or resized properly later. It is separate from the machine file and not included automatically, so ask with your quote if you need one.

Service snapshot

Embroidery Digitizing at a glance

Typical use
Logos and artwork for apparel, caps, patches and jacket backs
Recommended artwork
AI, EPS or PDF vector, or a high-resolution PNG or JPG
Sizing
Built to the final production size
Turnaround
Confirmed with your quote
Method
Object-based digitizing, planned for the garment
Fill density
Set for the design, thread, fabric and application
Satin columns
Used where the column width suits the artwork and material; wider areas switch to fill or split satin
Underlay options
Center run, edge run, zigzag, tatami
Common formats
One of DST, PES, EXP, JEF, VP3, XXX or HUS included; extra formats or EMB on request, confirmed with your quote

Formats you can request

Machine formats

  • DSTTajima
  • PESBrother / Baby Lock
  • JEFJanome
  • EXPMelco / Bernina
  • VP3Husqvarna / Pfaff
  • XXXSinger
  • HUSHusqvarna
  • EMBEditable working file (ask first)

A standard order includes one machine format of your choice. Additional formats, and the editable EMB working file, are not automatic: we confirm availability and any charge with your quote.

Not sure which format? Tell us the machine brand or file extension you run and we will deliver that format. Extra formats or an editable working file can be requested and are confirmed with your quote. We'll recommend the correct file for your machine.

Converting a file you already have

How orders run

From upload to delivery.

Request a Digitizing Quote
  1. 01

    Upload

    Send artwork and details

    Upload the design with final size, garment, fabric and placement. A JPG or PNG works; vector files help with sharp edges.

  2. 02

    Review

    Review and plan

    We check detail against size, choose stitch types for each element and plan the sewing order.

  3. 03

    Digitize

    Digitizing

    Objects are built with underlay, density and compensation set for your fabric, then checked for trims and travel.

  4. 04

    Deliver

    File delivery

    You receive the file in the machine format you chose, a preview and a color and stitch sheet. If something needs adjusting, revision requests are reviewed case by case.

Related samples

See the stitches up close.

Full portfolio

Artwork ready?

Send it over.
We'll plan every stitch.

Upload the design with the finished size, placement and fabric. A digitizer reviews it, and you get a quote before any work starts.

Explore more about embroidery digitizing

A practical guide: briefing a digitizer, checking a sew-out, and choosing the right service

What to tell your digitizer, and why each detail matters

A digitizer plans for the conditions it knows about. Many problems that appear on the machine come from a detail that never reached the brief.

  • Finished size. Stitches do not scale like pixels. Column widths, fill spacing and how much detail can stay are all chosen for the size the design will actually sew at.
  • Garment and fabric. A stable twill, a stretchy performance knit and a lofty fleece react differently to the same stitches. The fabric decides how much support goes underneath and how far shapes need widening to keep their size; our article on pull compensation explains why.
  • Placement. A cap front, a left chest and a jacket back have different working areas and hooping conditions, so the same artwork is often built differently for each. Caps are the clearest case: why cap digitizing is different walks through it.
  • Machine or file format. Your machine decides the format. A DST file carries stitches and color changes but no thread colors, so the operator needs to know which thread goes on which needle; DST vs PES covers the difference.
  • Thread and special techniques. Brand colors, metallic or other specialty threads, 3D puff or appliqué all change how a file is built, so mention them before work starts.

"Not sure" is a useful answer to any of these. It tells us to ask instead of guess.

How to judge a file before a production run

A screen preview shows the plan; a sew-out shows the result. The most reliable test is a sample stitched on the same fabric, backing and machine you will use for the order. Check for:

  • Registration: outlines sitting on the edges of the shapes they surround, with no fabric showing between colors.
  • Coverage: fills that hide the fabric without feeling stiff or board-like.
  • Distortion: puckering or rippling around dense areas, which shows up most on knits.
  • Small text: letters that stay open and readable rather than closing up.
  • Run behavior: frequent thread breaks, many trims or a long run time, which often point to density or sewing order.

When something looks wrong, a photo of the sew-out together with the fabric, backing and hooping details helps separate a file problem from a setup problem.

Is embroidery digitizing the service you need?

  • You have artwork that needs to become a stitch file: embroidery digitizing, this page.
  • Your artwork is a detailed illustration, a mascot or an unusual design: see custom digitizing.
  • You only have a JPG or PNG of a logo or image: image to embroidery file walks through that route. If the artwork itself is too blurry to read and needs redrawing first, start with vector art.
  • You already have an embroidery file that sews well and need another format, such as DST to PES: that is embroidery file conversion. Conversion changes the format, not the stitches, so it will not fix a file that sews poorly.
  • You are not sure: send what you have. Every order starts with a review, so the right service is settled before any work begins.

Have a design ready? Send it with the finished size, garment and machine, and we will review it before quoting. Request a digitizing quote

Questions

Before the first stitch.

What people ask before sending embroidery digitizing work. Anything else, ask with your quote.

All questions
01What is embroidery digitizing?

It is the process of converting artwork into a stitch file that an embroidery machine can read. The file defines every stitch: its type, length, direction and order, plus trims and color changes. You may also hear it called punching: before computers were affordable, designs were punched onto paper tape that ran the machine, and the name stayed.

02How much does custom embroidery digitizing cost?

Every design is quoted individually before any work starts. The price depends on how complex the artwork is, the finished size, the stitch work involved (for example small lettering, 3D puff or appliqué) and the scope, such as extra formats or an editable working file. Send the artwork with the size and placement for a quote; pricing and policies explains what moves a job from standard to complex.

03Why not just use auto-digitizing software?

Auto-digitizing applies generic settings to traced shapes. It usually ignores fabric behavior and sewing order, which leads to puckering, gaps and extra trims. Manual digitizing makes those decisions deliberately.

04What artwork do I need to send?

Any clear image will do, including JPG, PNG, PDF, AI or EPS. Include the finished size and the garment. Higher resolution and vector art make fine detail easier to read. If you only have a JPG or PNG logo, see image to embroidery file; if the artwork itself is blurry and needs rebuilding first, vector art can help.

05Can I resize the file myself after delivery?

Only within limits that depend on the design. A machine file holds finished stitches, so resizing it changes stitch length and spacing rather than recalculating them, and small text and fine detail suffer first. Software that rescales from an editable working file can recalculate the stitches. For a noticeably different size, ask for a separate version and test-sew it.

06Which file format should I ask for?

It depends on your machine. Commercial Tajima-compatible machines typically use DST, Brother and Baby Lock use PES, Melco uses EXP, Janome uses JEF, and Husqvarna Viking and Pfaff use VP3. If you are unsure, tell us the machine model. Our guide to DST and PES files explains what each format stores.

07What if the file does not sew right on my machine?

Send a photo of the sew-out with the fabric and stabilizer used. We review it, tell you what we think is causing the problem and what we recommend, and confirm any charge before further work. Revisions are handled case by case.

Free quote · No payment to ask

Your artwork is ready.
Let's make it stitch-ready.

Upload the design, tell us where it needs to sew, and we'll take it from there.

Western rope-scene embroidery across the back of a cream jacket
Jacket back · full embroidery

Free quote · No payment required

Send the artwork. We'll handle the stitches.

01ArtworkLogo, photo, sketch or existing file. Optional if you only have a question.
    02Embroidery detailsService, size, placement, fabric, format
    Finished size (optional)
    Turnaround
    03ContactWhere we send your quote

    No payment required to request a quote. No artwork yet? Write your question in Notes and send it without a file.

    Upload ArtworkFree quote