
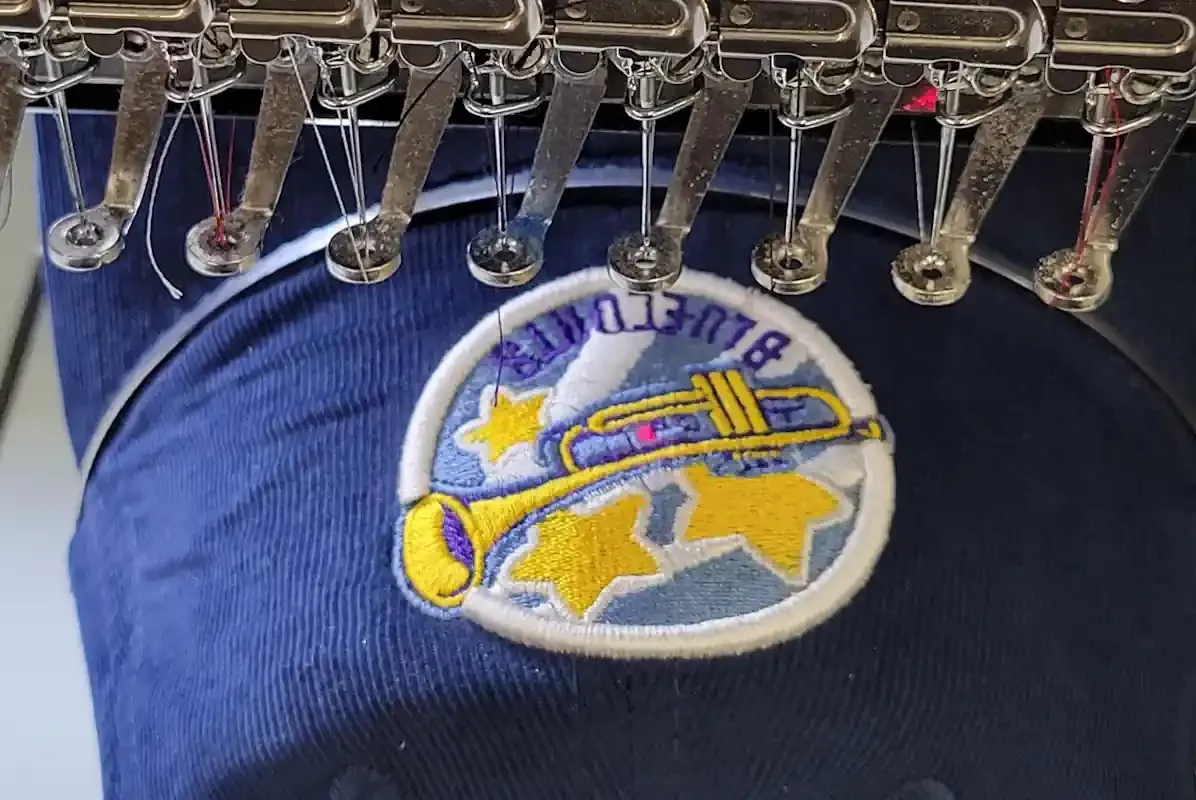
Structured
- Firmer front panels
- A more stable surface to sew on
- Seam and construction still matter
Buckram-backed fronts hold their shape but are stiff. We keep density moderate to avoid needle deflection and plan the seam crossing carefully.
Ready when you are. Send your artwork today — we'll take care of the stitches.
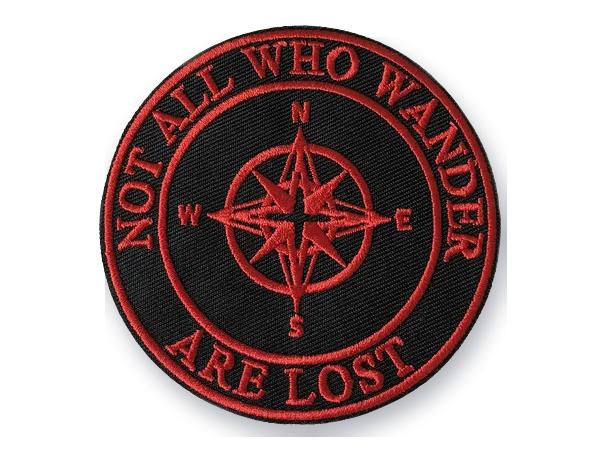 Embroidered patchesRaised, textured thread
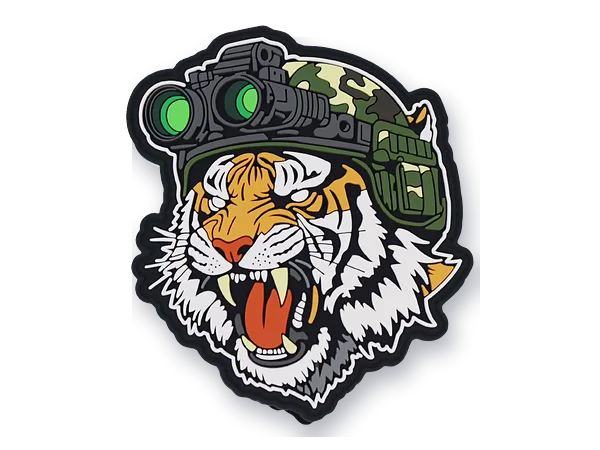 PVC patchesSmooth, flexible and dimensional
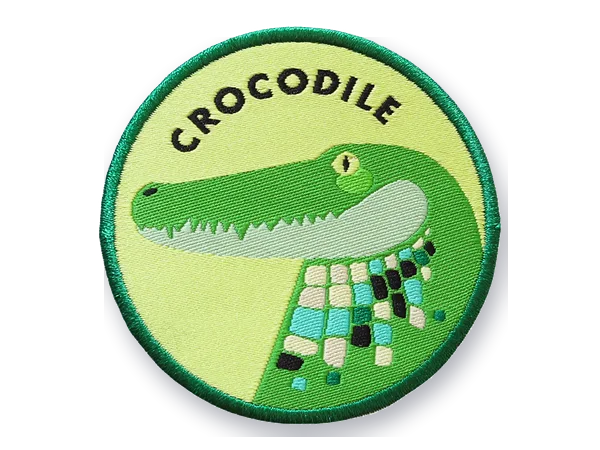 Woven patchesFlat, smooth and thin
 Chenille patchesSoft, fuzzy and raised
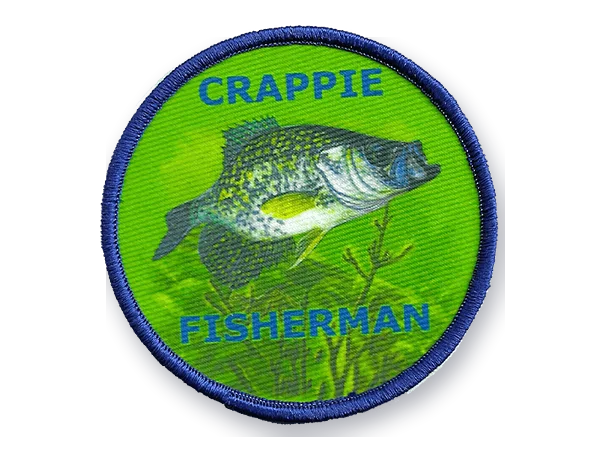 Printed / sublimated patchesFlat and smooth, full color
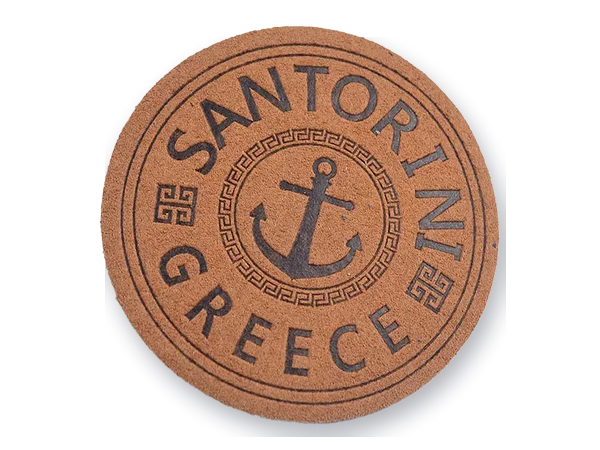 Leather patchesNatural, premium leather look
Cap & Hat Digitizing
Cap embroidery behaves differently from flat garments. We plan sequencing, density and stitch direction around the curved surface and center seam.
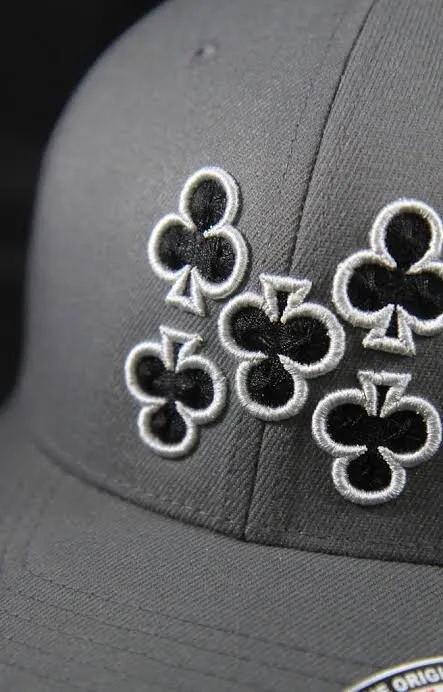
Why caps are different
A cap front moves, bends and has a seam running through the middle of it. We digitize headwear from the center outward, with underlay and compensation planned for the crown you are actually sewing on.
Most cap problems are not machine problems. They come from files that were digitized for a flat shirt and then resized for headwear. The design sews left-to-right, the fabric pushes toward one side, and by the last color the outline no longer meets the fill.
Cap frames hold the crown on a curve, and the center seam on six-panel caps adds a ridge the needle has to cross. A good cap file accounts for both before the first stitch is placed: how the front is stabilized, the order objects sew in, and how outlines stay registered as the cap flexes.
Flat-garment thinking
Cap-specific digitizing
The cap front, up close
Cap digitizing is its own discipline. Select an area of the cap front to see the decision behind it.
A center-run and edge-run underlay lock the fabric down across the center seam before satin or fill stitches go on top, so columns stay straight over the ridge. Dense fills or very small detail sitting directly on the seam may need to be adjusted or moved slightly.
The front panel is a curve, not a flat plane. Satin columns get extra pull compensation because a cap pulls in different directions as it curves, and stitch angles are chosen for the curve and the seam.
Usable height depends on the cap construction, the crown profile and your cap frame. Many structured caps sew comfortably around 2 to 2.25 inches tall, low-profile crowns less. We lay out the design inside the sewable area for your cap rather than shrinking it at the end.
We usually start at the center of the design and work outward, then bottom-to-top. Fabric is pushed away from the middle evenly instead of being dragged across the whole crown. The exact order still depends on the design.
When a cap flexes during sewing, outlines can drift away from the fills they surround. Where possible, outlines and borders are sewn in the same pass as the object they belong to, which keeps edges aligned.
Sequencing
Working outward can help manage movement across a curved, structured surface. Here is the same cap file at three points in the run.
01
The middle element sews first, where the front is held most firmly by the frame.
02
Work moves out to either side, so fabric is pushed away from the center evenly.
03
The outermost elements sew last, once the middle of the design is locked down.
Center-out is a common starting plan for cap fronts, not a rule for every design. We choose the order per file, based on the artwork, the cap and the hoop.
Cap construction
The same logo needs different settings on a stiff front and a soft one. Tell us which you are sewing.
Buckram-backed fronts hold their shape but are stiff. We keep density moderate to avoid needle deflection and plan the seam crossing carefully.
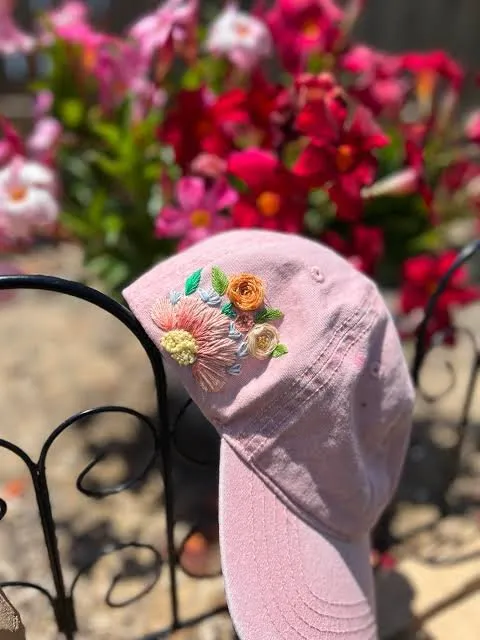
Soft fronts move more under the needle. Heavier underlay and slightly wider columns stop the fabric from puckering around the design.
Flat or raised
Cap customers often want both. They are built differently, and not every logo suits puff.
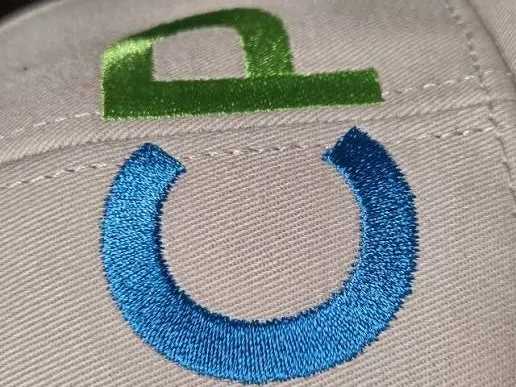
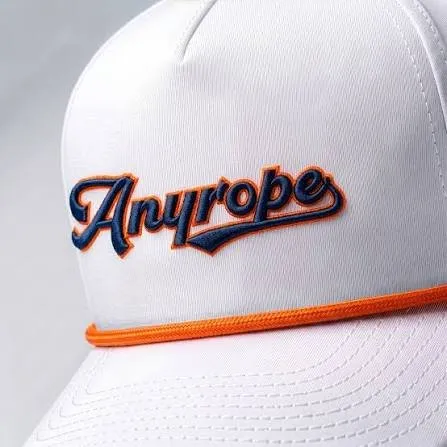
If you plan 3D puff on the front, we build open-ended satin columns with the correct width and density so foam cuts cleanly and edges close.
Need raised embroidery? Puff has its own rules for column width, density and foam.
Explore 3D puff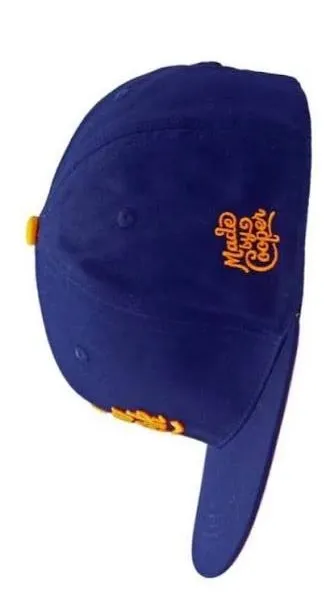
Before we digitize your cap
Structured, unstructured, trucker or low profile. 5-panel caps have no center seam; low-profile crowns reduce the usable height, so we lay the design out to fit instead of squashing it.
Front, side or back. Side and back placements are much smaller and often sewn on a different hoop, so we digitize them as their own files, sized for the space.
The width you want and the height the crown allows. Tell us the cap and we will confirm the design fits the sewable area and flag details that will not hold up at cap size.
Flat, 3D puff or a mix. Puff is built differently from the first stitch, so mention it with the quote request.
Service snapshot
Formats you can request
A standard order includes one machine format of your choice. Additional formats, and the editable EMB working file, are not automatic: we confirm availability and any charge with your quote.
Not sure which format? Most commercial cap runs use DST or EXP. Tell us your machine and we will provide the correct format. We'll recommend the correct file for your machine.
Converting a file you already haveHow orders run
Upload
Send the logo with the size and placement. A JPG or PNG works; vector files help with sharp edges.
Cap type
Structured, unstructured, trucker or low profile. We confirm the design fits the sewable area and flag fine details that will not hold up at cap size.
Digitize
Center-out pathing, seam-aware underlay and compensation built for the crown.
Stitch
Receive the machine file plus a color and stitch sheet for your operator, ready for the cap frame.
Related samples
Caps
Have a design like this? Send it with the size and placement for a free quote.
Get Free Quote
Caps
Have a design like this? Send it with the size and placement for a free quote.
Get Free Quote
3D Puff
Have a design like this? Send it with the size and placement for a free quote.
Get Free Quote
Caps
Have a design like this? Send it with the size and placement for a free quote.
Get Free Quote
Caps
Have a design like this? Send it with the size and placement for a free quote.
Get Free QuoteCap artwork ready?
We'll review the artwork, placement and cap type before building the stitch plan.
Questions
What shops and brands ask before sending cap work. Anything else, ask with your quote.
All questionsA cap front is curved, often stiff, and usually has a seam through the middle. It is also sewn on a cap frame rather than a flat hoop. Sequencing, underlay, density and compensation are all planned for that, which is why a cap file is built differently from a shirt file. Our guide on why cap digitizing is different covers it in more detail.
Sometimes it will sew, but usually not cleanly. A design digitized for a flat left-chest hoop is not necessarily suitable for a curved, suspended cap frame: the sewing order, underlay and compensation are planned for a flat surface. Caps also sew upside down on most cap frames, so the file is built for that orientation. We recommend a dedicated cap version.
The design starts sewing at the center and works outward, then bottom to top. It pushes fabric away from the middle evenly instead of dragging it across the crown. It is a common starting plan for cap fronts; the exact order still depends on the design.
Yes. On six-panel caps the seam is a ridge-and-valley that small details can sink into, so we avoid starting the design or placing thin details right on it, angle fills so they do not run parallel to the seam, and add underlay that locks the fabric across it. Lettering is spaced so it does not bunch at the ridge, and it is usually sewn after the main shapes.
It depends on the cap. Many structured caps sew comfortably around 2 to 2.25 inches tall, with width often up to about 4.5 to 5 inches; unstructured and low-profile crowns are shorter, often under about 1.8 to 2 inches. Many decorators also keep designs at least about 1/2 inch above the brim to avoid needle strikes. Your cap frame and machine set the final limit, so tell us the cap and we will size the layout to fit. Blank makers also publish decoration areas for each style; our caps and headwear page covers working to them across a range.
Yes. Puff needs wider satin columns, open ends and higher density so the foam is cut and covered cleanly. Mention puff in your quote request and we will build the file for it. See 3D puff digitizing for more.
Any clear image works, including JPG, PNG, PDF, AI or EPS. Include the cap type, placement and the width you want. Vector art makes small lettering and fine edges easier to read.
Most commercial cap runs use DST or EXP, and we also supply PES, JEF, VP3, XXX and others. Tell us the machine you run and we will deliver the format it reads.
Yes. Side and back placements are digitized as separate files sized for the smaller area and the hoop you use for them.
Send the file with a photo of the sew-out and the cap type. We review it and either correct the file or rebuild it as a cap version, and tell you which before any work starts.
Each cap design is quoted before any work starts. The quote depends on the detail and lettering in the design, whether the front is flat or 3D puff, and how many placements you need, since side and back logos are separate files. If you already have a left-chest version, mention it: the cap version is planned as its own file, and the quote reflects the work involved. See pricing and policies.
Related services
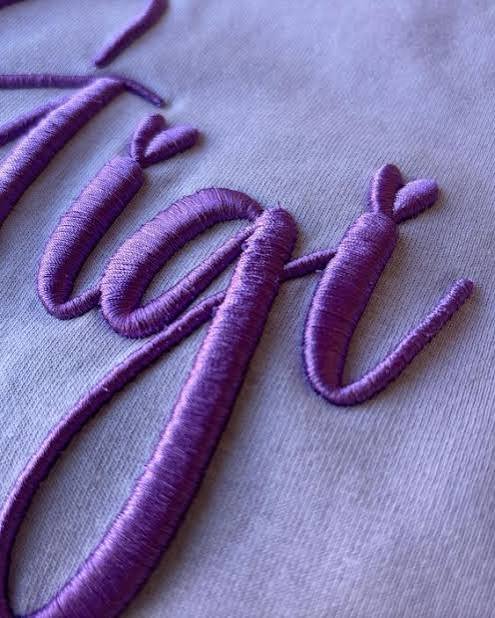 3D Puff Digitizing
Wide, dense satin columns with closed edges so foam cuts cleanly and stays covered.
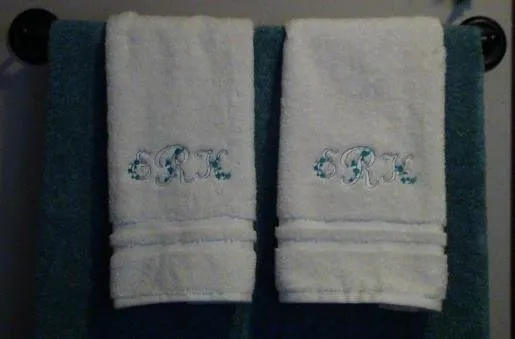 Small Lettering
Readable tiny text through adjusted density, light underlay and stitch types chosen per letter size.
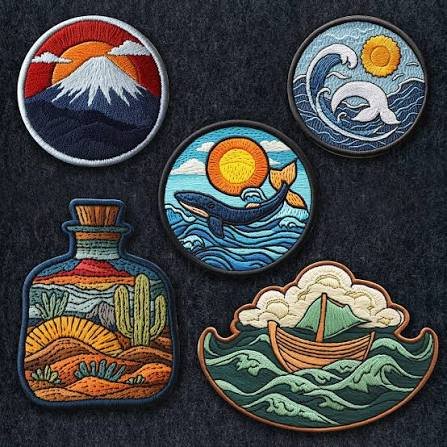 Patch Digitizing
Border, base and density planned for merrow, heat-cut or full-stitch patch production.
Free quote · No payment to ask
Upload the design, tell us where it needs to sew, and we'll take it from there.