
How it works
From upload to machine.
No guesswork in between.
Seven steps, most of which happen on our side. Your part takes about a minute.
-
You
Artwork submission
Upload your design and fill in a short brief: finished size, placement, fabric and machine format. JPG, PNG, PDF, AI, EPS and SVG artwork all work, and so does an existing DST, PES, JEF or VP3 file that needs fixing.
- Logos, sketches, photos, PDFs or DST/PES files
- Up to 8 files per request
- No account needed
-
Us
Artwork review
A digitizer checks the artwork against the size and garment. If fine details won't hold at that size, or a gradient needs a different approach, we tell you now — not after the file is made.
- Size and placement check
- Detail and small-text check
- Fabric and technique notes
-
Us → You
Quote
You receive a price for the exact design, size and format. Nothing starts until you approve it.
- Price per design
- Timing in the quote
- No payment to ask
-
Us
Digitizing
The design is digitized: stitch types, angles, underlay, density, pull compensation and sequence are planned object by object for your garment.
- No auto-conversion
- Cap files sequenced center-out
- Puff and appliqué built as such
-
Us
Quality check
The file is reviewed in stitch simulation for gaps, density problems, unnecessary trims and travel before it leaves us.
- Density and coverage check
- Trim and jump review
- Color stop order
-
Us → You
Delivery
You get the machine file in the format you chose, with a color and stitch sheet. The delivered file is yours to keep and reuse.
- One machine format of your choice
- Color and stitch sheet included
- Extra formats or working file: ask first
-
You ↔ Us
Revision if needed
Sew it out. If something needs changing, tell us what you saw. We review each revision request against the original order and confirm any charge before further work starts.
- Describe or photograph the issue
- Reviewed case by case
- Any charge confirmed first
Inside step 04
What "manually digitized"
actually means.
Tap the points on the stitch close-up.
01 / 05
Underlay
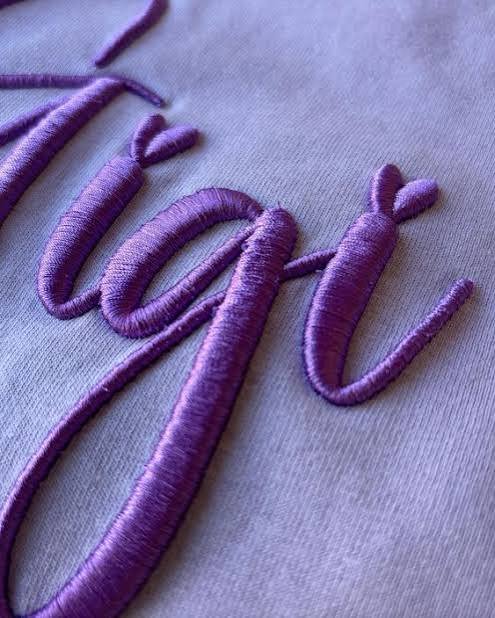
The foundation sewn before the visible stitches. A center run and zigzag lock the fabric to the backing so the top layer sits flat and does not sink into knits or pile.
02 / 05
Satin
Long parallel stitches that cover narrow shapes edge to edge. Satin gives text and borders their shine, but past roughly 7–10 mm wide it gets loose and snaggy, so wider areas need a split satin or a fill.
03 / 05
Density
How close each stitch sits to the next. Too dense and the design turns stiff, breaks thread and puckers. Too light and the fabric shows through. We set it per object, fabric and thread weight.
04 / 05
Pull compensation
Stitches pull fabric inward as they sew, so columns come out narrower than the artwork. The dashed line is the artwork edge; the stitches deliberately overshoot it so the sewn result matches.
05 / 05
Travel & sequencing
Hidden running stitches move the needle between objects without a trim. Planned well, they cut machine time and thread tails; planned badly, they show through or leave jumps to clip.
Free quote · No payment to ask
Your artwork is ready.
Let's make it stitch-ready.
Upload the design, tell us where it needs to sew, and we'll take it from there.